MANAGE ALL YOUR DIGITAL SIGNAGE
Software
Content Manager : NMT software does no need to install, and it is running on Windows OS. Heart of the digital signage network; to manage your media assets, playlists, content distribution – to monitor your players NMT is green installation software (Non-install), support Windows OS. NMT is a media broadcast distribution, scheduling and management software tool. Allow the user to set up Client IP address, scheduling contents and update via USB.

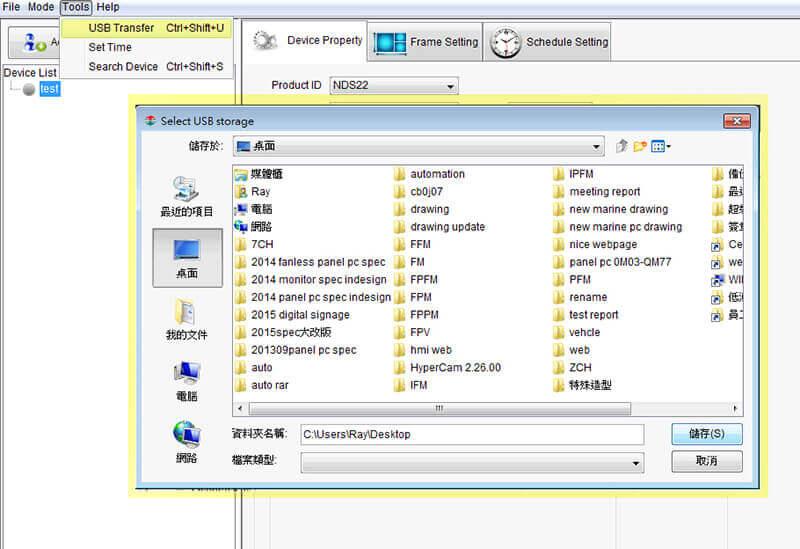
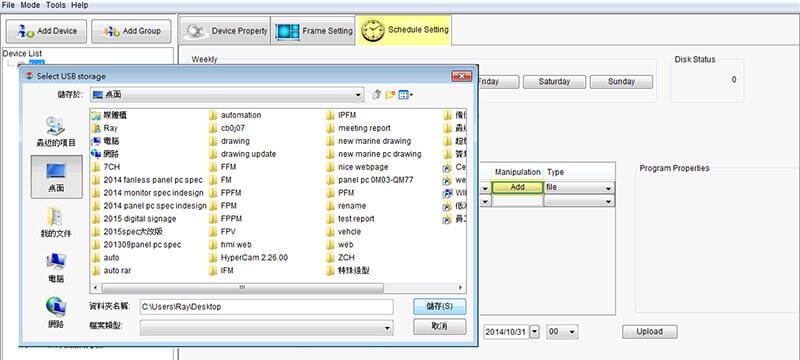
Update via USB
• Click USB transfer button.
• Create and Save the “script” to USB dongle.
• Save the Video or photo contents into USB dongle.
• Insert USB into player.
• The contents will transfer to SD card storage.
Update via LAN
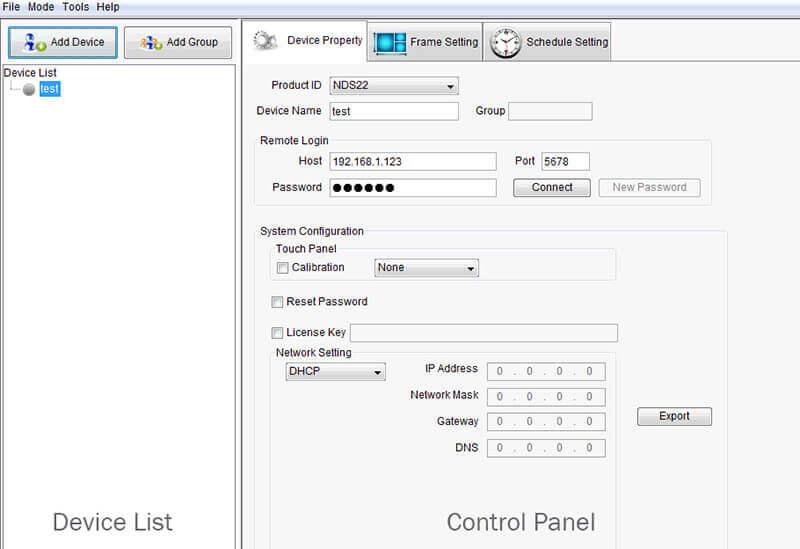
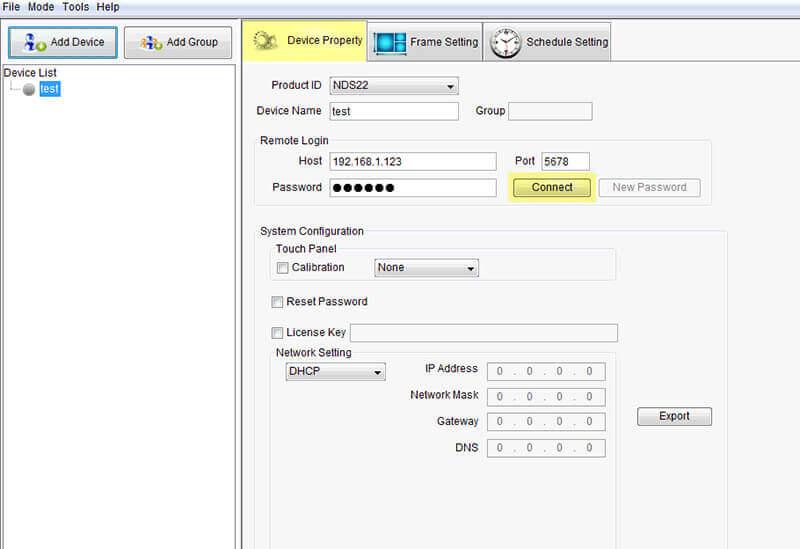
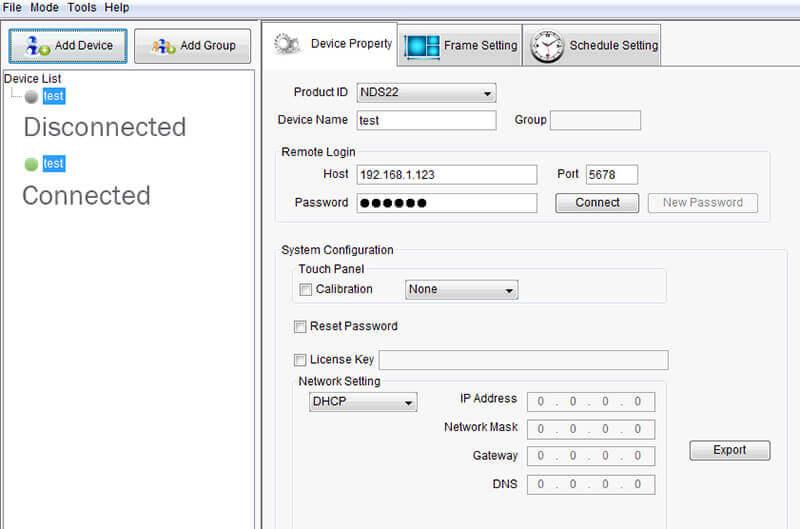
Device Property Setting: The user can be required to change their product ID and password. Click “connect” button to make sure connection status is success.
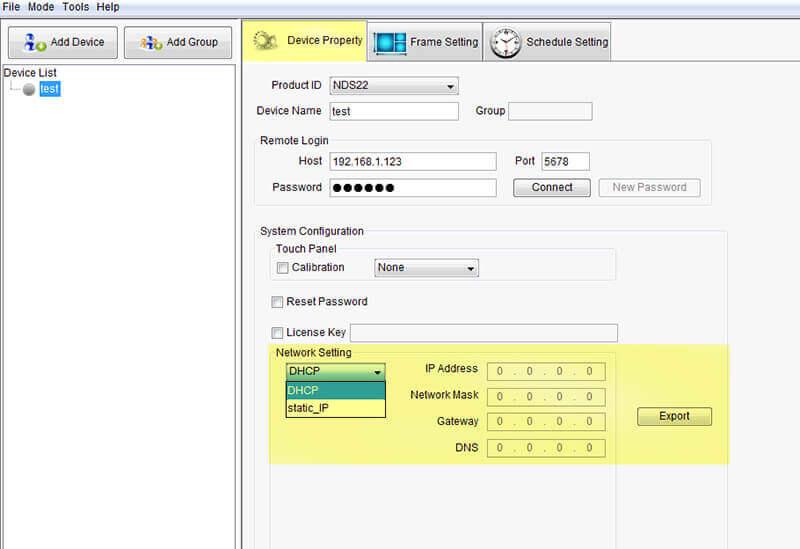
1.1 Extranet Network Setting: The user could set up DHCP or Static IP. How to set up local Network Static IP Setting:
1. Please contact administrator for helping. The administrator could provide Network Mask, Getway IP and DNS.
2. Enter the IP address, Network Mask, Getway IP and DNS in the network setting. Select static IP in the network setting.
• The contents will transfer to SD card storage.
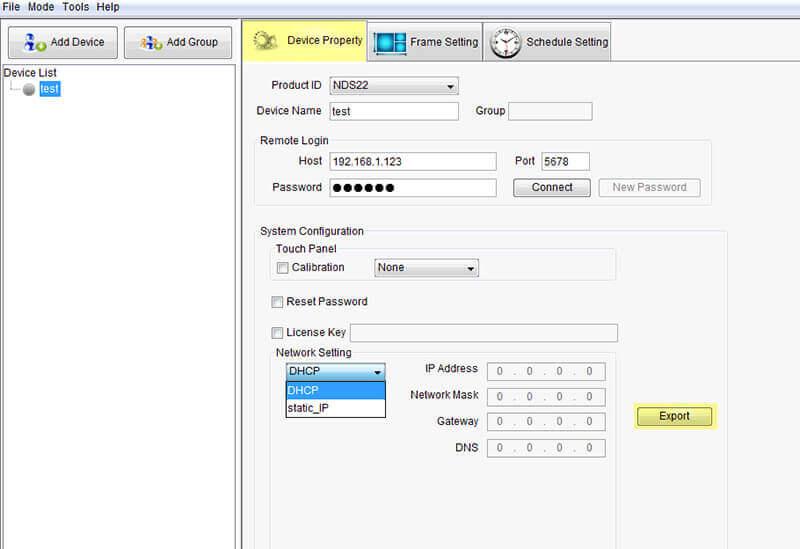
3. Click Export button → Save the export file in to Micro SD card → plug micro SD card into NDS22 player → The device will tag the network setting information automatically. Finally, you can upload contents and schedule setting.
4. If the user network has supported DHCP. The user could select DHCP in the network setting. Click Export button directly→ Save the export file in to Micro SD card → plug micro SD card into NDS22 → The device will tag the network setting information automatically. Finally, you can upload contents and schedule setting.
Device connection status ICON:
Creating Device
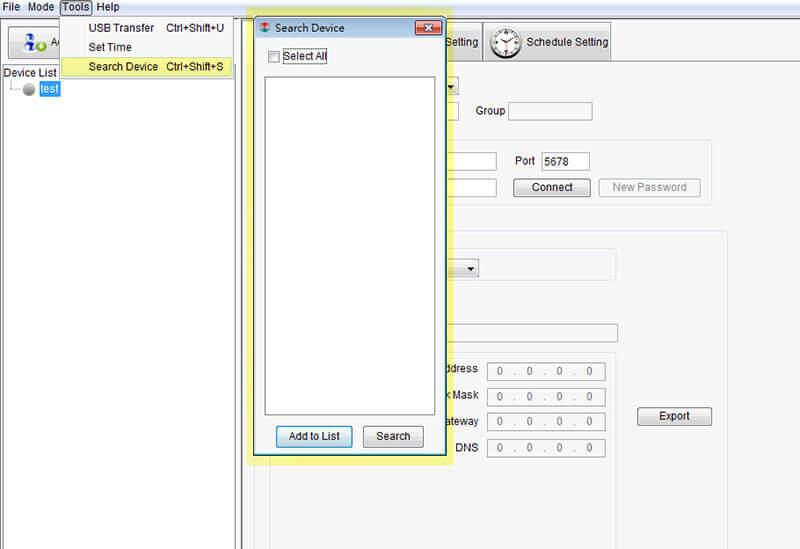
• In the local LAN, you are able to search device function to find available device. Tool Bar --- Tools --- Search Device
• The available device will list on the dialog box. You can select all or select one of the lists.
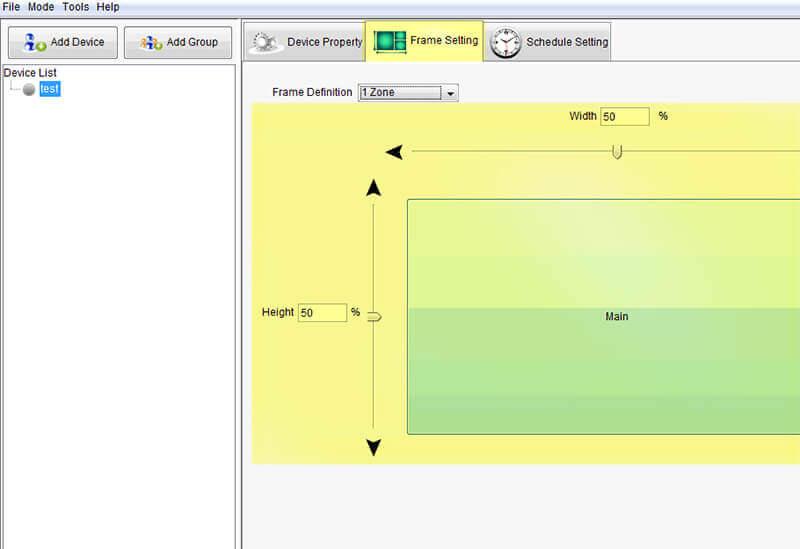
Create Layouts
• Frame setting screen and choose 1 Zone or 3 Zone.
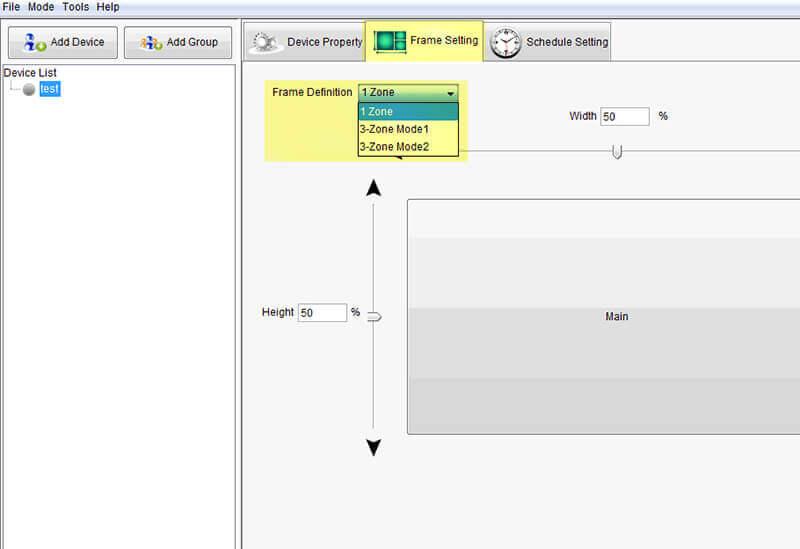
Creating Device
• Adjustable Width / Height: Either input numeral of percentage or click scrollbars.
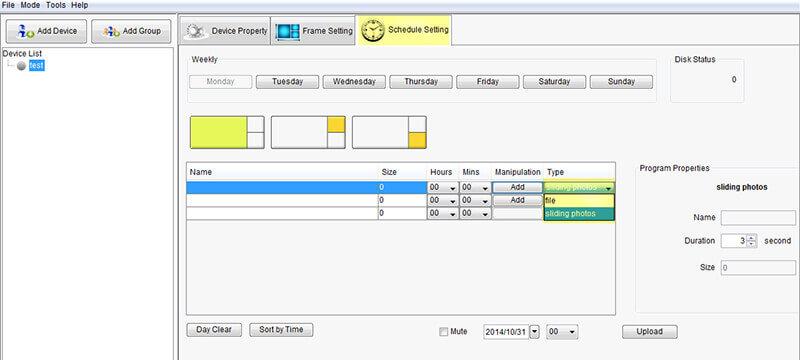
Schedule Setting
• Setting order : Select Date of Week -`> Select Zone -`> Set up playlist
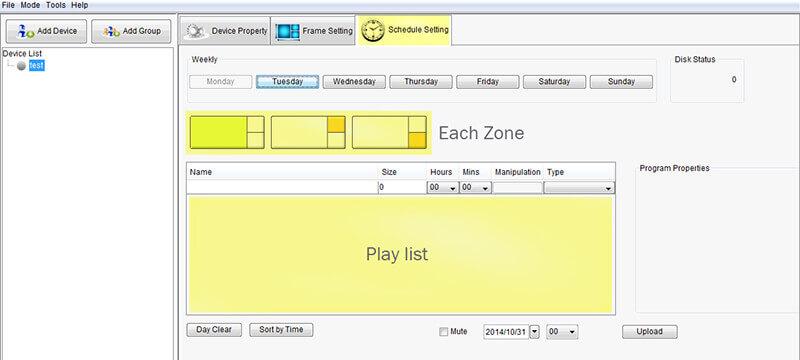
• Set up a weekly schedule. The user can be required to set up a weekly schedule and upload at once. Select scroll box to set up broadcast on the content schedule setting. The first scroll box is setting the hour. The second scroll box is setting the minute. Click “File type selection box” to select content type; then the file name and file size will list on the schedule list.
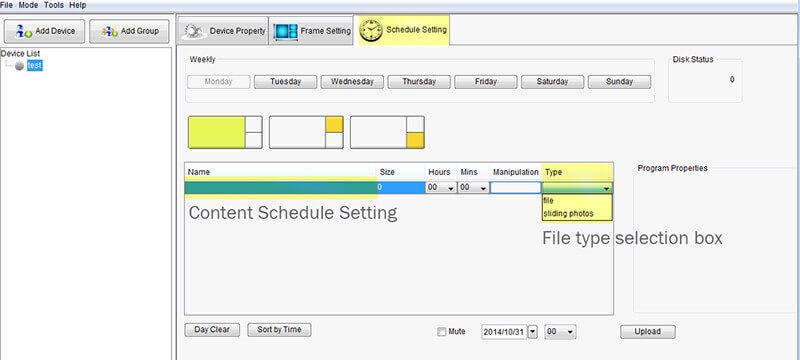
• File Type has four types, image / video / sliding photo / web page. The type of image & video allow sending files to the playlist.
Clock Setting
Please set up time zone for player, before sending contents
1. Require USB Keyboard & Mouse
2. “Ctrl+T” will call the time zone setting.
3. The player’s monitor screen will shows “Time & Date” selections.
4. Adjust the Time & Date by your mouse or keyboard then Click “OK” button return to signage.
Rolling Message
1. Click device twice, the Scrolling Message Screen will pop out.
2. Input the text in the text box and then Click Send button.
3. Click check box of Left or Right for the scrolling direction.
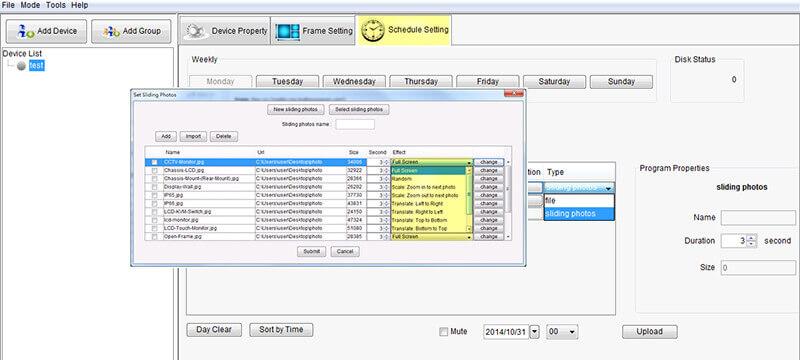
Sliding Photo
• Sliding Photo type: Select Sliding photos then click “Add” button
The sliding photo dialog box will POP out and allow user to set up a playlist of photos. You can select “Import” button to import a folder of photo. Or you can select “Add” button to add each of photos. The sliding photo “Effect” function has 10 selections.
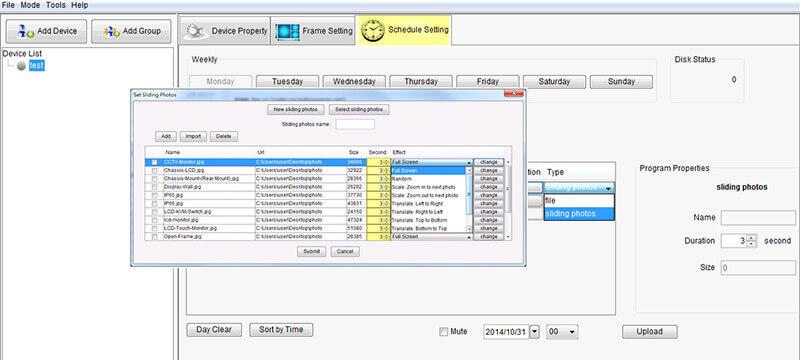
You can set up timing for each photo to switch next image.
Web Page
• Select “web page” Click “ADD button”
• It will POP out a dialogue, you can input the web address.
• Click Upload button to send files to devices. The file transfer dialogue box will shows the status of transmission.